Determining whether to build or buy your email infrastructure is no small decision. Do you have the bandwidth to support deliverability issues? Will you be able to keep up with your sending as you grow? What’s more cost effective? While there are a number of factors to consider, that’s a conversation for another guide (like this Build it or Buy It guide).
Instead, this tutorial will show you how easy it is to send email via a dedicated email service. We’ll walk through how to deliver email through Twilio SendGrid using the Flask framework and the Flask-Mail extension.
To follow this tutorial you need the following items:
- Python 3.6 or newer. If your operating system does not provide a Python 3.6+ interpreter, you can go to python.org to download an installer.
- A free Twilio SendGrid account. If you are new to Twilio SendGrid, sign up for a trial account. With a trial account, you can send 40,000 emails for 30 days, then 100 emails per day.
Before you can send email through SendGrid, you have to create an API key that you will use to authenticate access to SendGrid services. Log in to your SendGrid account, then click on the left sidebar select “Settings” and then API Keys. Click “Create API Key."
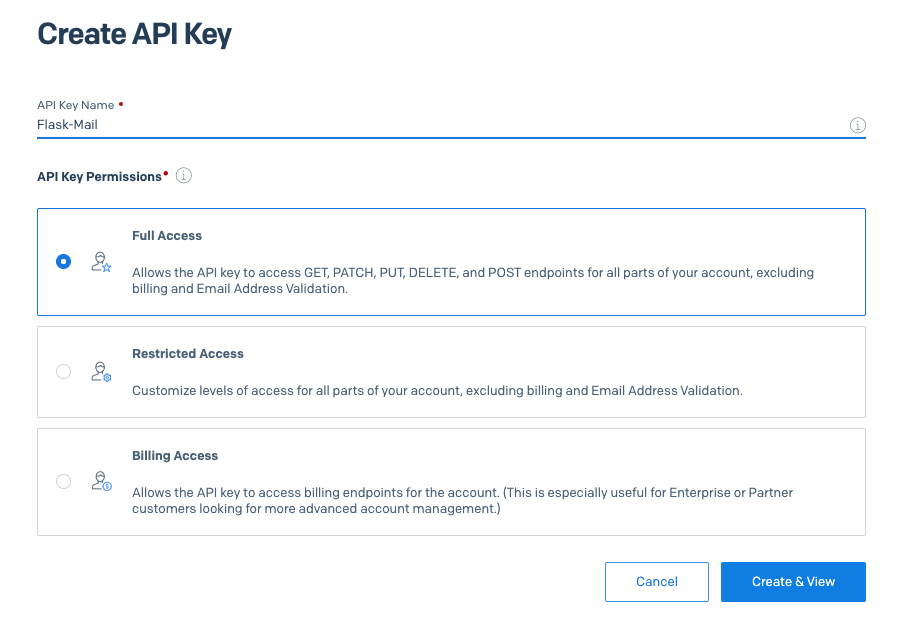
 Give your API key a friendly name (keep it simple and straightforward so you remember what it refers to!). For this tutorial, we chose the name Flask-Mail. We selected “Full Access” for permissions, which gives the key the ability to perform all the necessary email sending functions (access to GET, PATCH, PUT, DELETE, and POST endpoints). If you prefer to create a key that has very specific permissions, then select “Restricted Access” and configure your access as needed.
When you click the “Create & View” button you will be presented with your key. This key will never be shown again, so you need to click on it to copy it to the clipboard. Then paste it in a secure document so that you can use it later. If you lose your key, you will need to generate a brand new one. Once you have saved your key, you can click the “Done” button.
Now that we have the setup complete, we can dive into how to send email from Python Flask applications. We’ll begin by making a new directory on your computer called *twilio-sendgrid-tests* (or something similar), and then creating a new Python virtual environment within it.
For Mac and Unix users, the commands are:


 Give your API key a friendly name (keep it simple and straightforward so you remember what it refers to!). For this tutorial, we chose the name Flask-Mail. We selected “Full Access” for permissions, which gives the key the ability to perform all the necessary email sending functions (access to GET, PATCH, PUT, DELETE, and POST endpoints). If you prefer to create a key that has very specific permissions, then select “Restricted Access” and configure your access as needed.
 If you want to see a Flask route example that integrates this functionality, here is a simple one you can add at the bottom of app.py:

