Email Design
Easily build beautiful, responsive emails that drive results.
Companies that scale trust twilio SendGrid to deliver results:
Easily build beautiful, responsive emails that drive results.
Companies that scale trust twilio SendGrid to deliver results:
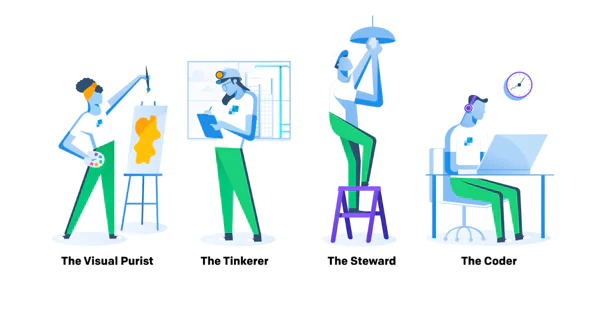
Save time with flexible workflows.
Take advantage of choose-your-path editing options, whether you prefer visual design, code, or a blend of both.


Maximum flexibility to make email design easier.
The Design Editor offers streamlined, WYSIWYG campaign creation with access to HTML when you need it.
Take control of content with our Code Editor.
Confidently code emails from scratch, backed by features that rival native developer tools.


Work seamlessly across marketing and transactional email
Use a familiar editing experience whether you’re creating newsletters and automations, or receipts and password resets.