
Recently, I had the chance to teach kids how to
launch rockets using Arduinos. As you might guess, it was a
blast.
We wrote a countdown program using Node.js, hooked the program up to an Arduino, and wired up the Arduino. This sent an electrical signal to the rocket engine, igniting it.
In this tutorial, I show you how to do the same.
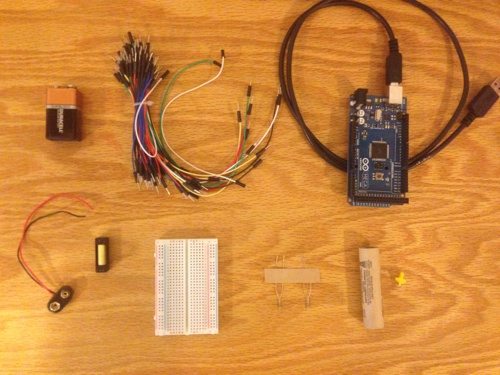
You will need the following materials:
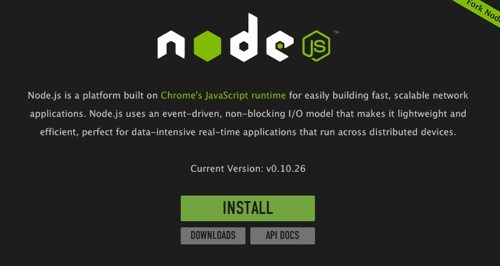
First,
install Node.js.
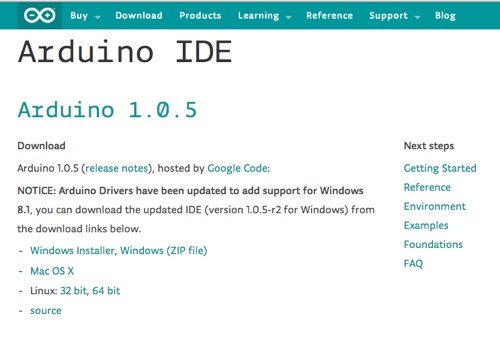
Next,
install the Arduino software.
Plug your Arduino into your computer and launch Arduino software.
Open up the StandardFirmata software. Then press the "Upload" button.
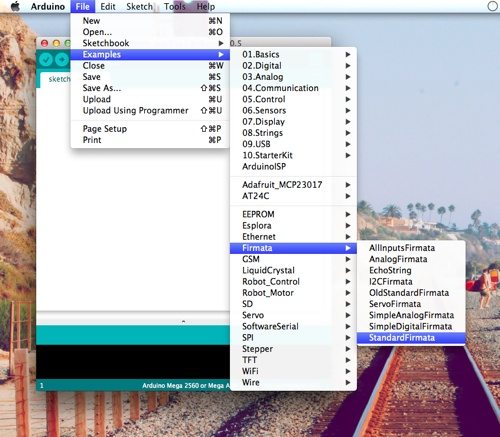

This will install
StandardFirmata onto the Arduino.
Create the countdown timer program. Open up terminal and type the following.
mkdir rocket
cd rocket
npm init # hit enter multiple times to accept all the defaults
npm install johnny-five --save
vim launch.js
Paste the following in launch.js.
// timer countdown
var countDown = function(callback){
  var count = 10;
  var counter = setInterval(function() {
    console.log(count);


    count = count - 1;
    if (count < 0) {
      clearInterval(counter);
      callback("LIFT OFF!");
    }
  }, 1000);
}


//// board control
var five = require("johnny-five");
var board = new five.Board({
  debug: true,
  repl: false
});


board.on("ready", function() {
  var launchSignal = new five.Led({
    pin: 10
  });
  launchSignal.off();


  countDown(function(resp) {
    console.log(resp);
    launchSignal.on();
  });
});
This program communicates with pin 10 to send an electronic 5 Volt signal. We will use the 5 Volt signal as a communication protocol. It will tell the 9 Volt battery to send electricity to the rocket engine's electronic starter - igniting the engine.
- Place the relay on the board. We are going to use the relay to control the 9V battery power.
- Wire ground (black wires) to the battery, to the GND pin on the Arduino, and to one of the switch pins on the relay.
- Wire the positive (red wires) to the battery, to pin 10 on the Arduino, and to the other switch pin on the relay.
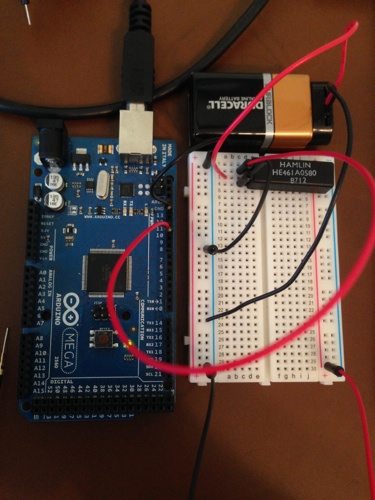
Wiring can be tricky - even with a basic circuit like this. Try to mimic the picture above.
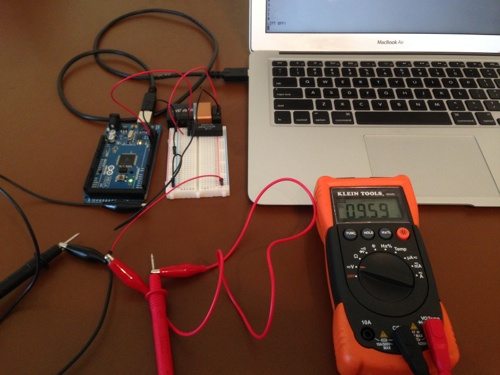
To test it out, connect the outgoing positive and negative to a multimeter. Set the multimeter to DC voltage, and run the launch.js node program.
node launch.js
If you did it right, the
multimeter will read approximately 9 Volts.
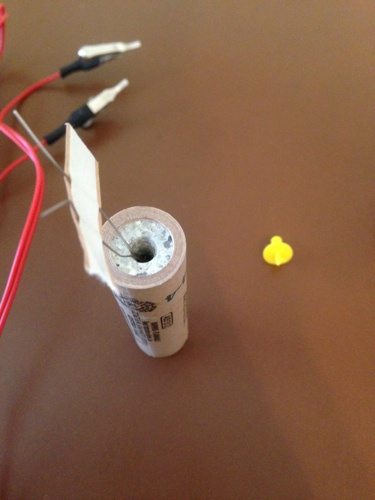
Next, prepare the rocket engine.
- Place the electronic match in the engine.
- Insert the plug to hold it in place.
- Bend the electronic match wires to the side.
 *Caution with this step. If you accidentally send the 9 Volts down the wire before running your program, the rocket will ignite in your hands.*
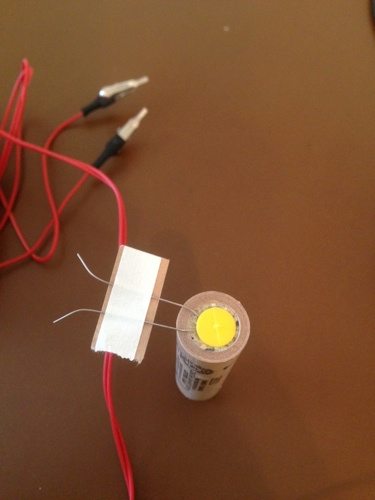
- Place the engine somewhere safe. I've placed mine in a vise. You could also put it inside your rocket.
- Connect a longer wire to the ends of the electronic match. Make sure they do not touch each other.
- Connect the ends of the longer wire to the positives and negatives coming off the previously built Arduino circuit.
Run the program and your launch your rocket!
node launch.js
https://vimeo.com/89754340
This post triggers the launch simply by calling the Node script. But, what if the launch could be triggered by another event? How about reacting to an incoming email? Here's
how to receive email with Arduino to get you started.